Cold Frame Plans for Beginner Gardeners: A Step-by-Step Guide
Are you a budding gardener looking for a way to extend your growing season and nurture delicate seedlings? Look no further than a cold frame! This simple structure acts as a mini-greenhouse, protecting your plants from harsh weather and creating a warmer microclimate for optimal growth. Even if you're a beginner, building a cold frame is a manageable project that can yield impressive results. Let's dive into the world of cold frames and explore everything you need to know to get started.
Understanding Cold Frames
Cold frames are essentially transparent boxes with a lid that can be opened and closed to regulate temperature. They harness the sun's warmth, trapping it inside and creating a warmer environment for your plants. This allows you to start seeds earlier in the spring, extend your growing season into the fall, and even overwinter some hardy vegetables.
Benefits of Using a Cold Frame
Cold frames offer a variety of benefits for beginner gardeners:
- Extended Growing Season: Start seeds earlier in the spring and harvest crops later in the fall.
- Protection from Harsh Weather: Shield your plants from frost, wind, and heavy rain.
- Controlled Environment: Regulate temperature and moisture levels for optimal plant growth.
- Hardening Off Seedlings: Gradually acclimate seedlings to outdoor conditions before transplanting them into your garden.
- Low-Cost Solution: Build a cold frame from readily available materials and save money on expensive greenhouses.
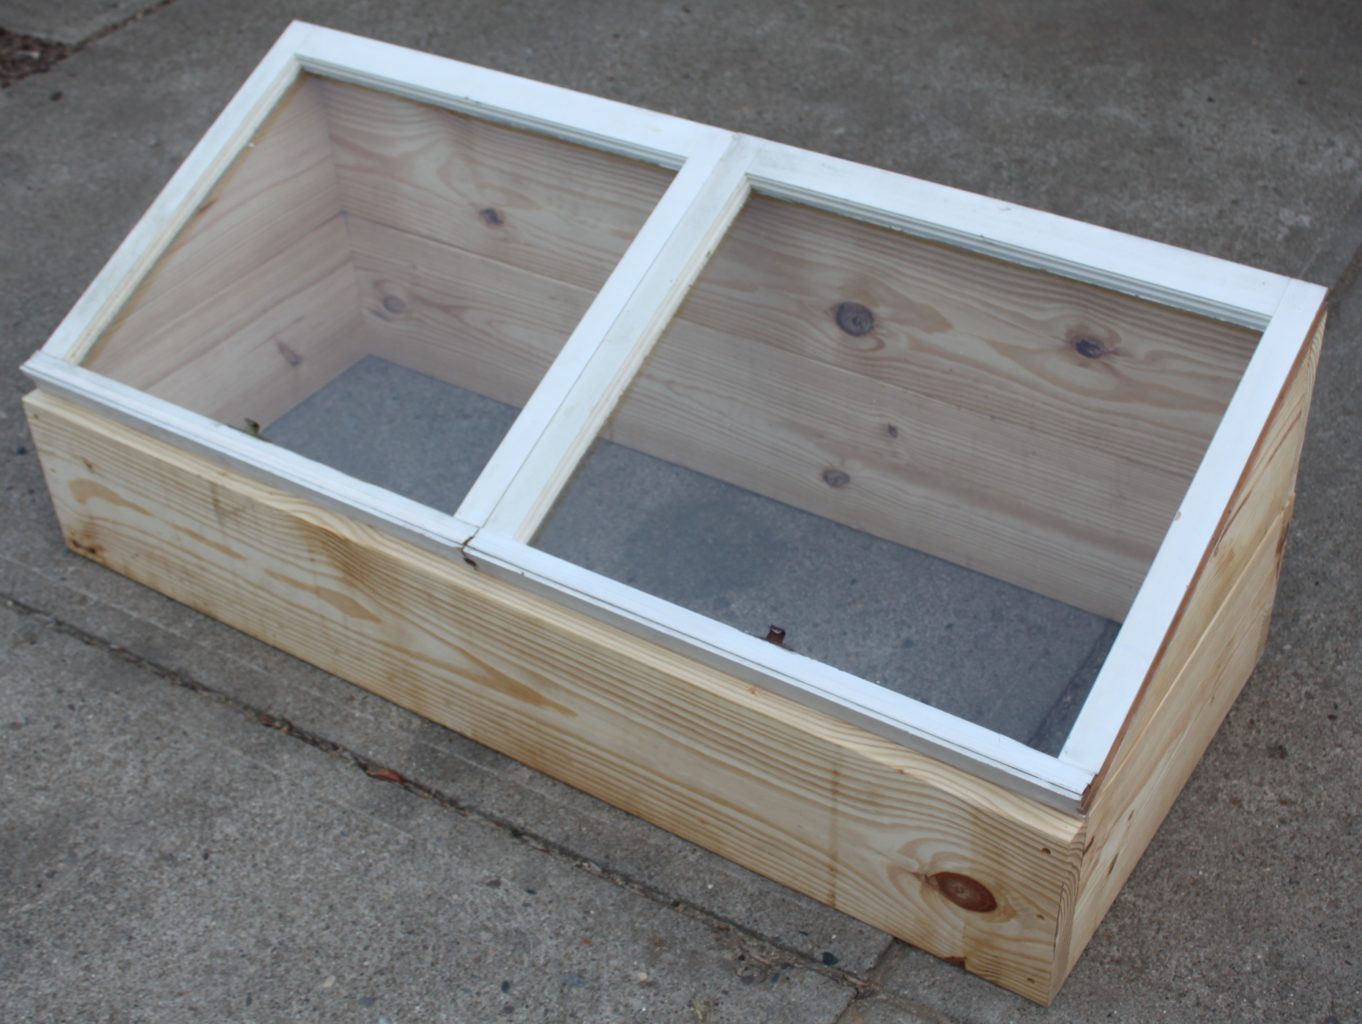
Building Your Cold Frame
Now let's build your cold frame! We'll use readily available materials and focus on a simple, beginner-friendly design.
Materials You'll Need:
- Wood planks (2x4s or 2x6s) for the frame
- Plywood or polycarbonate sheets for the bottom and lid
- Hinges (2)
- Screws or nails
- Measuring tape
- Level
- Saw
- Drill (optional)
Construction Steps:
- Measure and Cut: Determine the size of your cold frame, keeping in mind the space you have available. Cut the wood planks to the desired dimensions, ensuring square corners.
- Assemble the Frame: Attach the wood planks to create a rectangular box. Secure the joints with screws or nails.
- Create the Bottom: Cut a piece of plywood or polycarbonate to fit snugly inside the frame. Attach it to the bottom of the frame using screws or nails.
- Build the Lid: Cut a piece of plywood or polycarbonate to the same size as the base. Attach hinges to one side of the lid for easy opening and closing.
- Secure the Lid: Attach a latch or handle to the lid to secure it in place.
- Place and Prepare: Choose a sunny location for your cold frame. Add a layer of soil or potting mix to the bottom.
- Enjoy Your New Cold Frame: Your cold frame is ready! Start your seeds, nurture your seedlings, and extend your growing season with this simple but effective structure.
Tips for Success
- Location, Location, Location: Choose a sunny spot that receives at least 6 hours of sunlight daily.
- Ventilation: Open the lid on warmer days to allow for air circulation and prevent overheating.
- Moisture Control: Water your plants regularly, but avoid overwatering. Use a watering can with a fine rose to gently mist the soil.
- Protecting from Frost: On cold nights, cover the lid with a blanket or tarp for extra insulation.
- Experiment: Try different plants in your cold frame to see what thrives best in your climate.
Building a cold frame is a rewarding experience for beginner gardeners. It's an investment in your garden's health and success, and you'll be amazed by the benefits it brings to your plants and your gardening journey. So, gather your materials, follow these easy steps, and start enjoying the wonders of a cold frame!

0 comments:
Post a Comment
Note: Only a member of this blog may post a comment.